Introduction
Transforming the exterior of your home into a captivating sight doesn’t have to be a daunting task. One simple yet powerful way to do so is by installing outdoor shutters. Not only do they offer a delightful visual appeal to your home’s facade, but they also serve a functional purpose. By effortlessly blocking out sunrays, providing shade and privacy, and safeguarding your house from the elements, exterior window shutters prove to be a valuable addition to any abode.
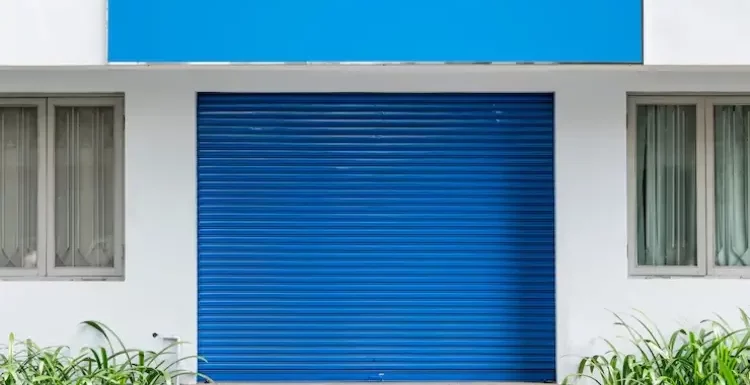
Outdoor shutters come in a variety of styles and designs. From wood exterior shutters to aluminium shutters to outdoor roller shutters, you can choose your preference that fits right with your home’s exterior facade.
Once you decide the type of shutters you want in your home, it is time for shutter installation. This can be done DIY, but we recommend hiring professional installation services. In this blog, we give you a detailed guide for installing outdoor shutters.
Just follow the shutter installation instructions given below step-by-step to install outdoor shutters at your home.
Step 1: Ensure you have all required tools
Before starting the shutter installation process, ensure you have all the tools and materials required. These typically include:
- Outdoor shutters (pre-made or custom-built)
- Measuring tape
- Level
- Screwdriver
- Drill with various drill bits
- Screws
- Anchors (if mounting on masonry)
- Pencil
- Safety goggles
- Ladder or step stool (if necessary)
- Paint or stain (if desired)
Step 2: Measure and mark the placement
To begin the process, you must take out the measurements for your window or the opening where you plan to install the shutters. It is essential to accurately measure the width and height of the space to ensure a proper fit of the shutters.
Based on the style and aesthetic you want to achieve, you can opt for shutters that cover the entire window or only a portion of it. Next, use a pencil to mark the desired placement of the shutters on the exterior wall. Consider any obstructions, such as trim or sills, ensuring that the shutters will align correctly.
Step 3: Install the hinges
Hinges are crucial for proper shutter operation. So, this step must be done with careful precision. Place the shutters on a flat surface and align the hinges with the outer edges of the shutter. Mark the screw holes with a pencil. You can pre-drill pilot holes to prevent splitting the wood.
Next, hold the shutters against the exterior wall, aligning them with the previously marked placement. Attach the hinges to the wall using screws, ensuring they are secure but not over-tightened. Double-check the levelness and alignment of the shutters.
Step 4: Mounting options
When installing exterior shutters, you need to choose an appropriate mounting method based on the type of exterior wall you have. For wood or vinyl siding, one can simply attach the shutters using screws.
However, if you have a masonry surface, you must use anchors in conjunction with screws to ensure a secure installation. When mounting on masonry, drill pilot holes into the mortar joints or brick. Insert the anchors, ensuring they are flush with the surface. Then, attach the hinges to the anchors using screws.
Step 5: Test the shutter operation
Once the shutters are securely mounted, test their operation. Open and close them to ensure smooth movement and proper alignment. Adjust the hinges if necessary to achieve the desired operation.
Step 6: Finishing touches (Optional)
Your shutter installation process is now complete. As a next step, you may apply paint or stain to the shutters if you want them to match your home’s exterior colour scheme. Follow the manufacturer’s recommendations for the appropriate type of paint or stain and apply it evenly using a brush or roller. Allow sufficient drying time before handling or closing the shutters.
DIY Installation vs Professional Installation
When installing outdoor shutters in your home, cost plays a big factor in making the decision. We suggest trusting professional experts if you want to have the best quality shutters in your home. Discuss with the manufacturer about your needs and let them guide you on the best options for your home.
Similarly, when it comes to the installation process, experience always counts. A DIY installation may leave room for errors, which will cost you later in the long run. With professionals, the shutter installation cost may seem higher, but you can rest assured of superior results.
Maintenance and Care
To keep your outdoor shutters in good condition, you need to perform regular maintenance. You must check the shutters periodically for signs of wear and damage. Clean them using a mild detergent and water solution, gently scrubbing away dirt or debris. Refrain from using strong chemicals or abrasive cleaners as they could leave scratches on the surface.
Closing Thoughts
Installing outdoor shutters will add both beauty and functionality to your home. Enhance your property’s outer facade and get shade and privacy for you and your family. You can take the DIY path and follow the above-given shutter installation instructions meticulously, or you may choose to hire professionals for installing exterior shutters in your home. They have the experience and expertise and do their job well.
