
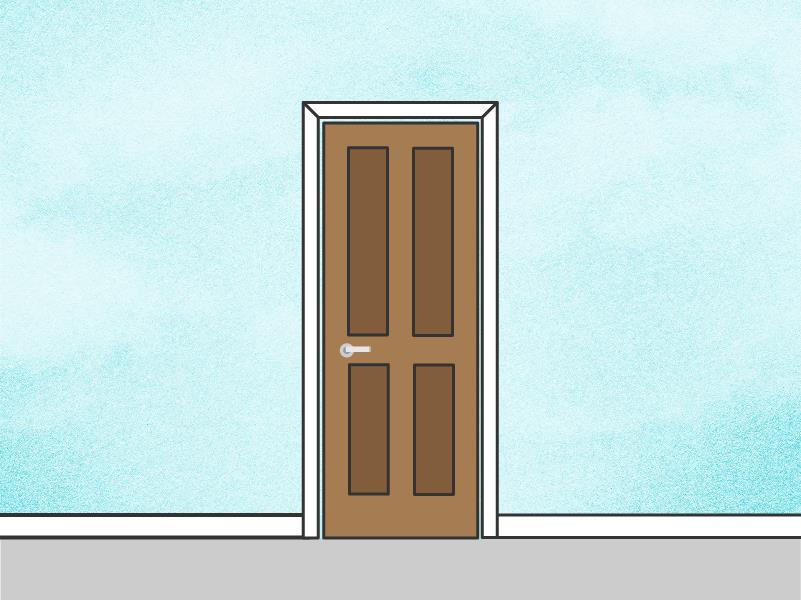
Replacing your doors is an easy way to refresh and revamp any room, though it can sound like a complicated task.
Whether you’re looking to change all your internal doors, or you just have a few that could do with a refresh, our step-by-step guide with expert tips will help you get them installed in no time.
In this how-to guide, we’re going to show you how to:
- Measure the door
- Tools required
- Fit the hinges
- Hang the door
- Attach the latch and handles
Tools Required:
- Measuring tape
- Pencil
- Plane
- Plastic or wooden Wedges
- Hammer
- 12mm (1⁄2 inch) chisel
- Cordless drill
- 25mm (1 inch) (depending on latch or lock) drill bit
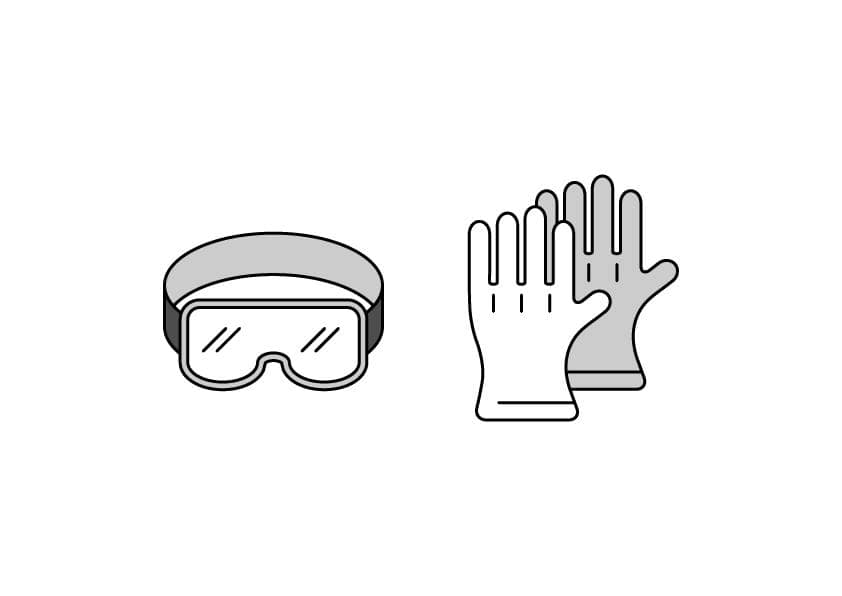
Relevant safety equipment i.e. goggles and gloves
- Make sure it fits
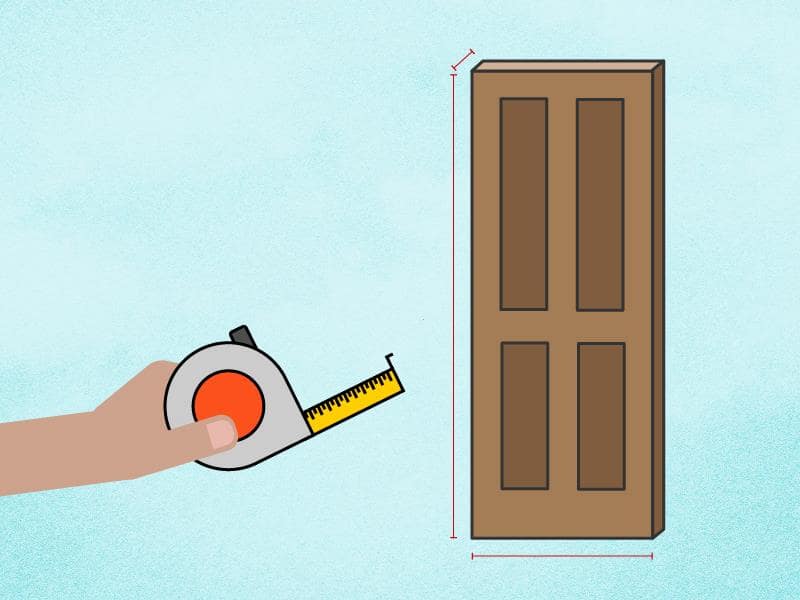
- Measure the door – width, height and thickness prior to unwrapping and working on the door.
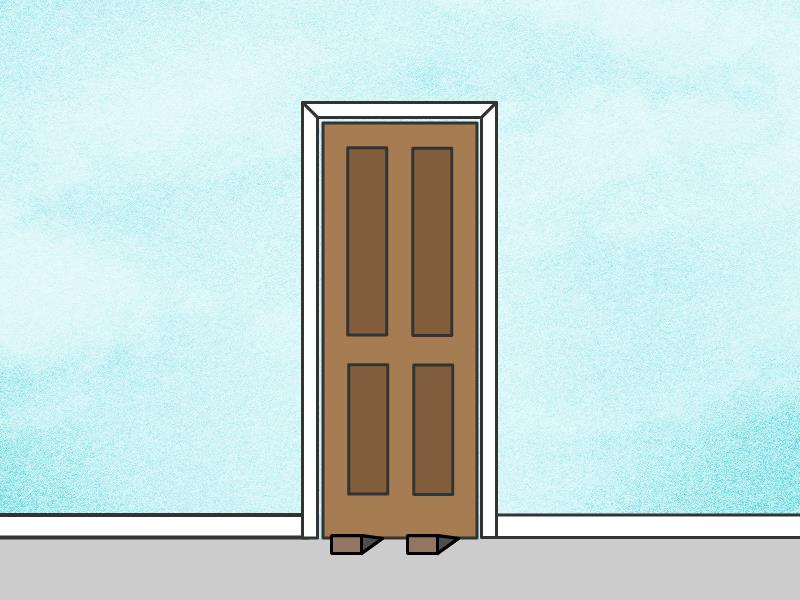
- Offer the door to the frame to highlight where the door needs reduced in size if at all.
- If required plane the door to fit the frame (leave 3mm clearance between door and frame).
- Fit the hinges
- Set the door into opening, using wedges for the bottom of the door to leave equal clearance top and bottom.
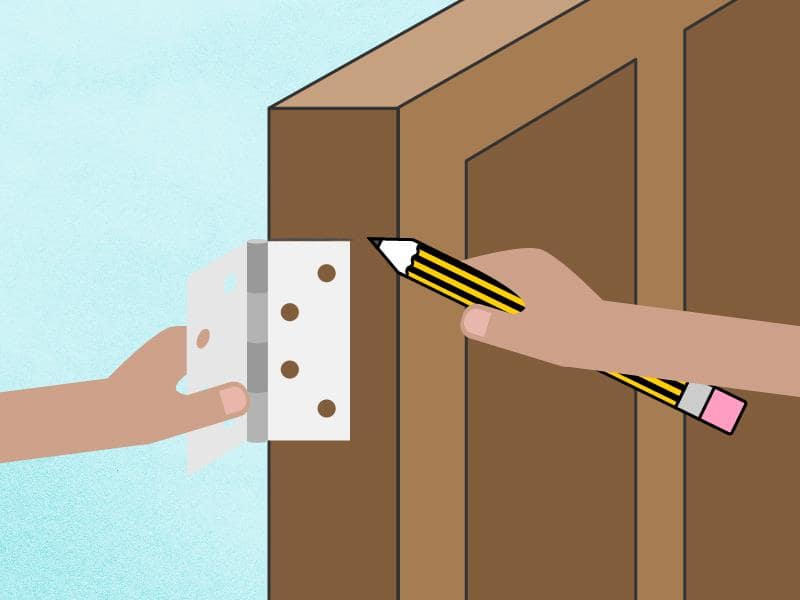
- Mark the location of your hinges on the door.
- Place hinges on the mark and draw around them keeping the flange of the hinge level with the edge of the door.
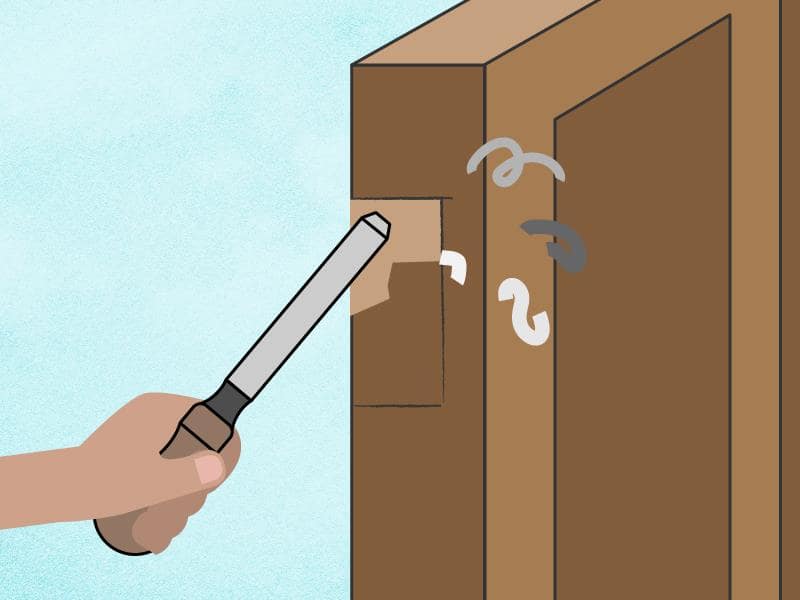
- Chisel around the area you have marked to the thickness of the hinge.
- Using the chisel remove timber within the area to the thickness of the hinge so that when in place the hinge sits flush with the door. You may also need to adjust the cut out on the frame for your new hinges.
- Screw the hinge to door (make sure all pilot holes are drilled first).
- Hang the door
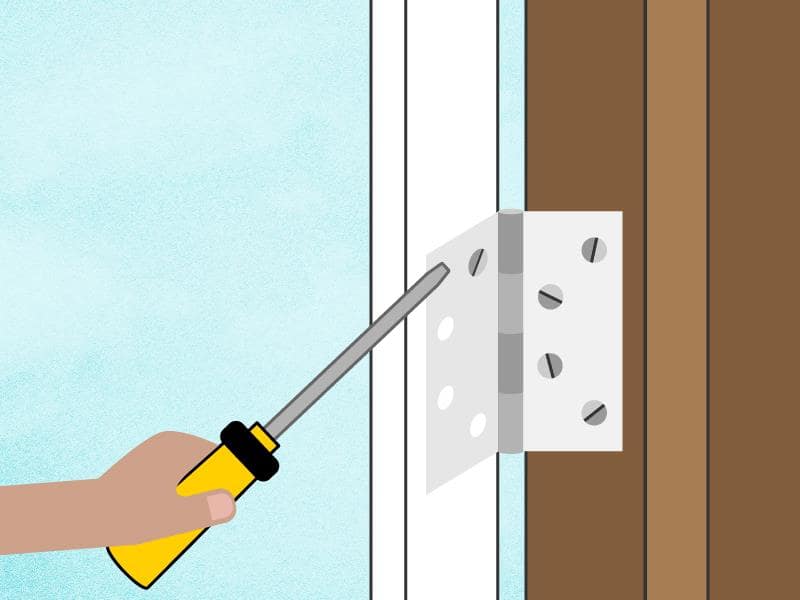
- Place door back into frame by inserting the top screw of the top hinge, then the bottom screw of the bottom hinge and finally the middle screw of the middle hinge.
- Close door into frame making sure it opens and closes smoothly, then continue to screw the rest of the screws in.
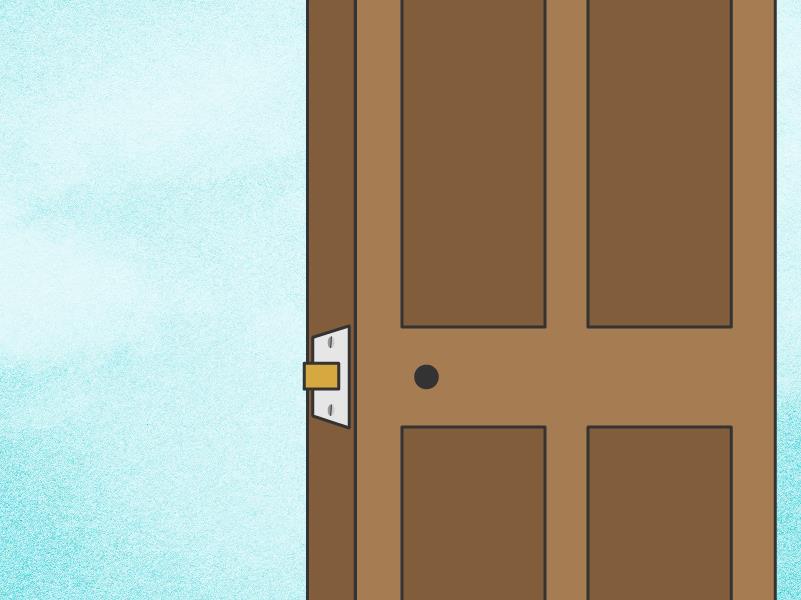
- Attach the latch and handles
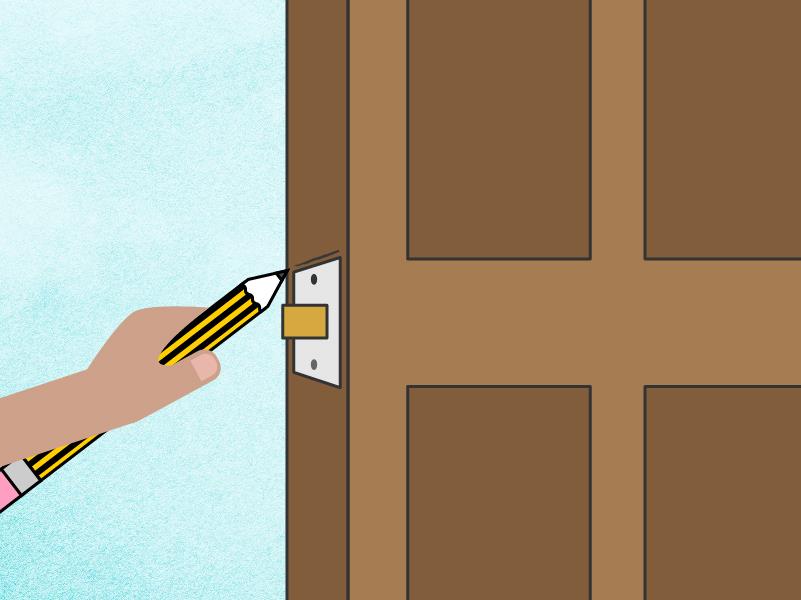
- Replace the old keeper on the frame with the new one. Close the door and mark the centre position of the keeper to indicate what height needs to be inserted at.
- Using the height mark and the centre of the door use the 25mm bit to bore a hole deep enough to accept the latch. Do not bore any deeper than necessary.
- Offer the latch into the hole, mark around the faceplate of the latch and chisel out the necessary timber to allow faceplate to sit flush with the door.
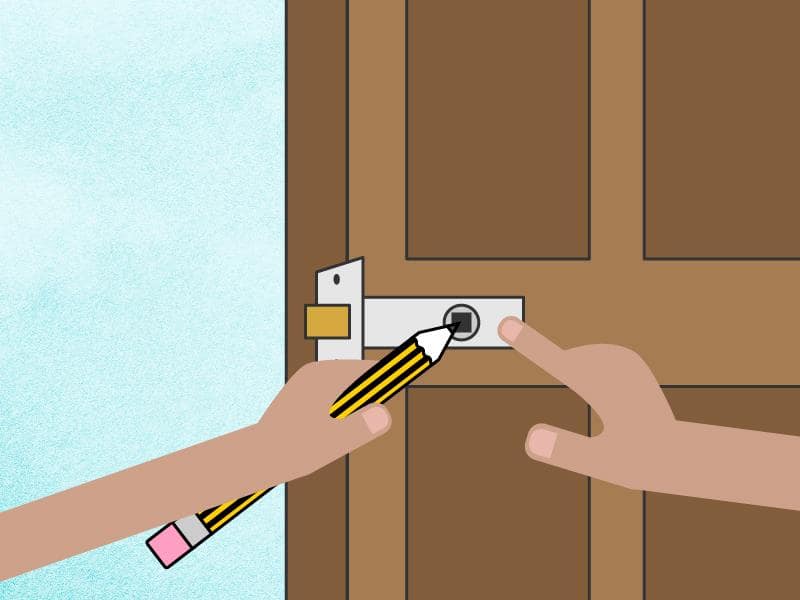
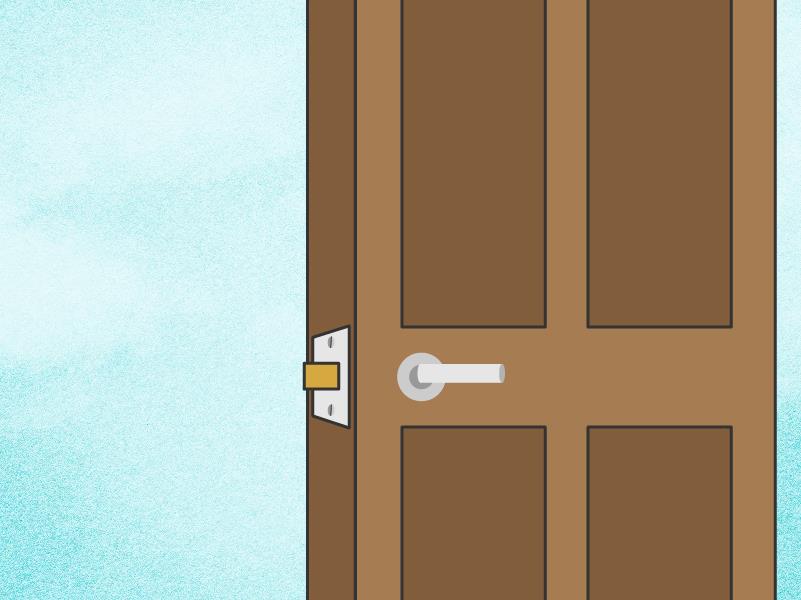
- Measure the distance from the faceplate to the centre of where your spindle from the handle will go through and mark this on the door.
- Bore into this mark but do not go right through just pierce the opposing side.
- Finish the hole from the other side to stop the veneer from splitting.
- Fit handles and adjust latch as required.
Source: https://www.doorstore.co.uk/blog/how-to-hang-a-door/